
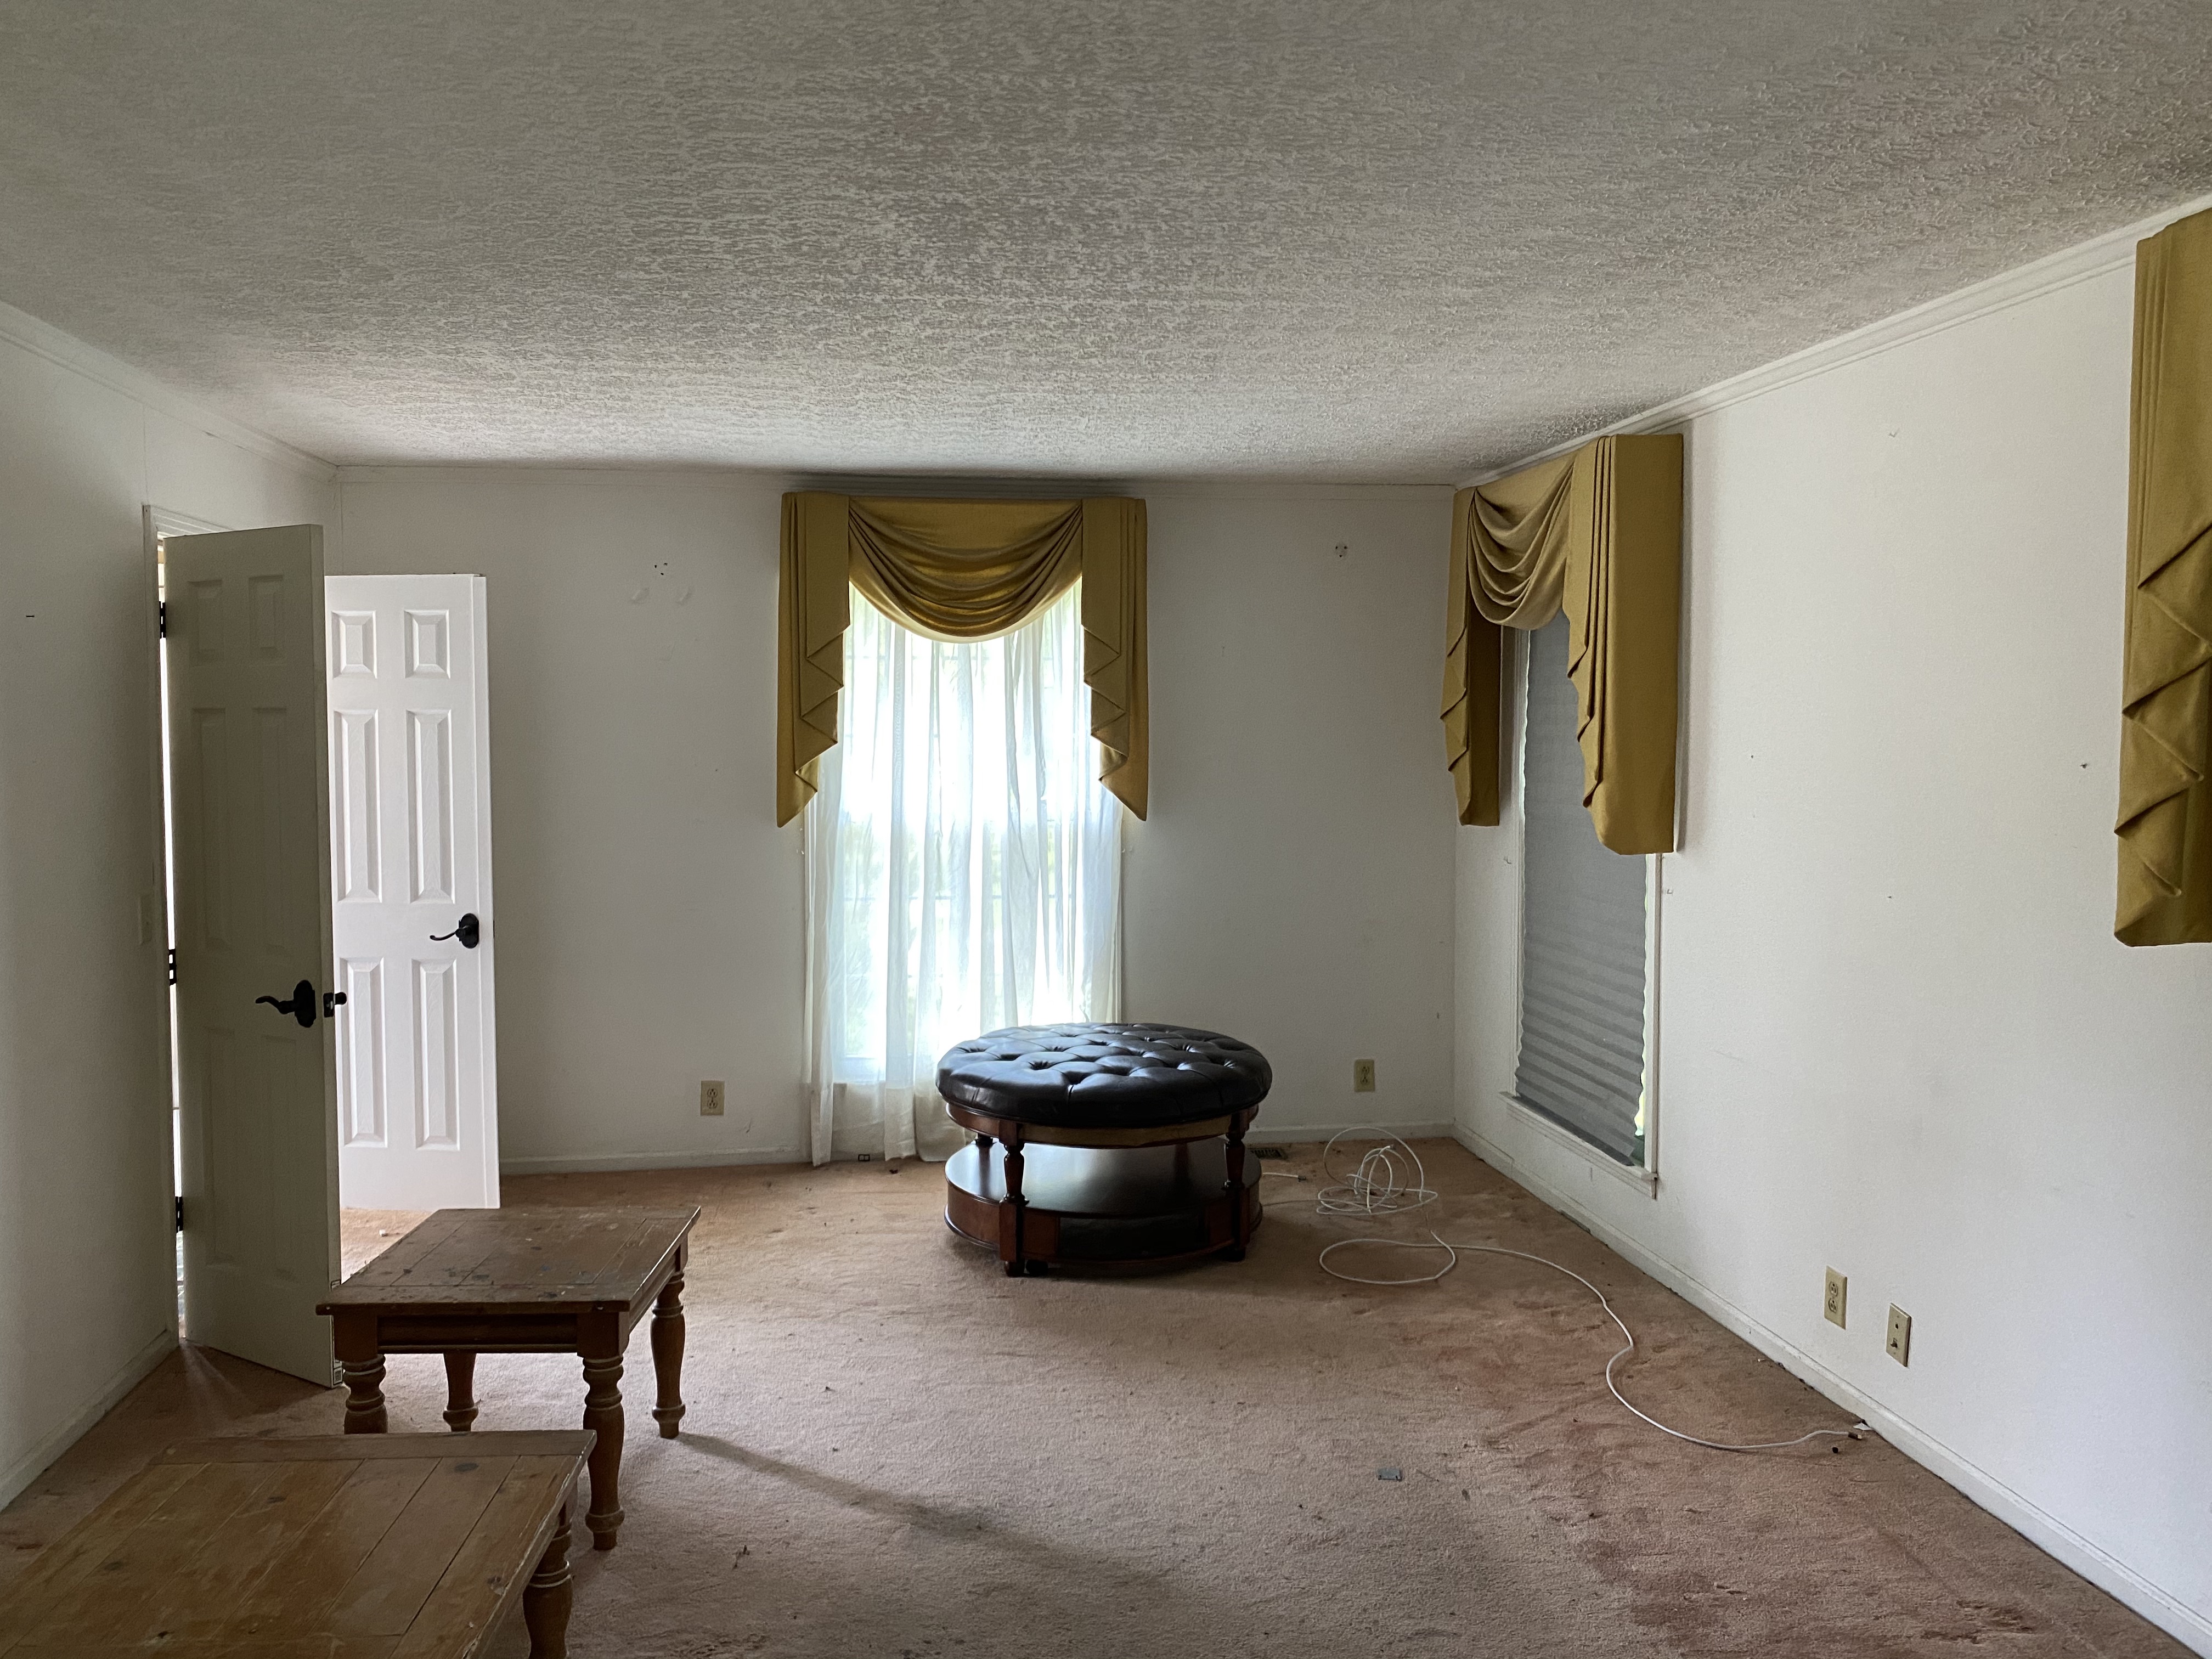
As challenging as renovating a home is with three little ones underfoot, the little ones themselves honestly love it. They are not phased by the chaos or disaster and they have enjoyed seeing the transformation as well as living like nomads within the house, depending on which room is under construction at the moment. The living room and entry way area is what we cleared out of and tackled recently. The floors here, or really lack thereof, is not helping me… be a nice person. Because we wanted to take a few walls out from this area, we couldn’t move forward with flooring here til we got the living room situated (it’s impossible to do just one thing!)

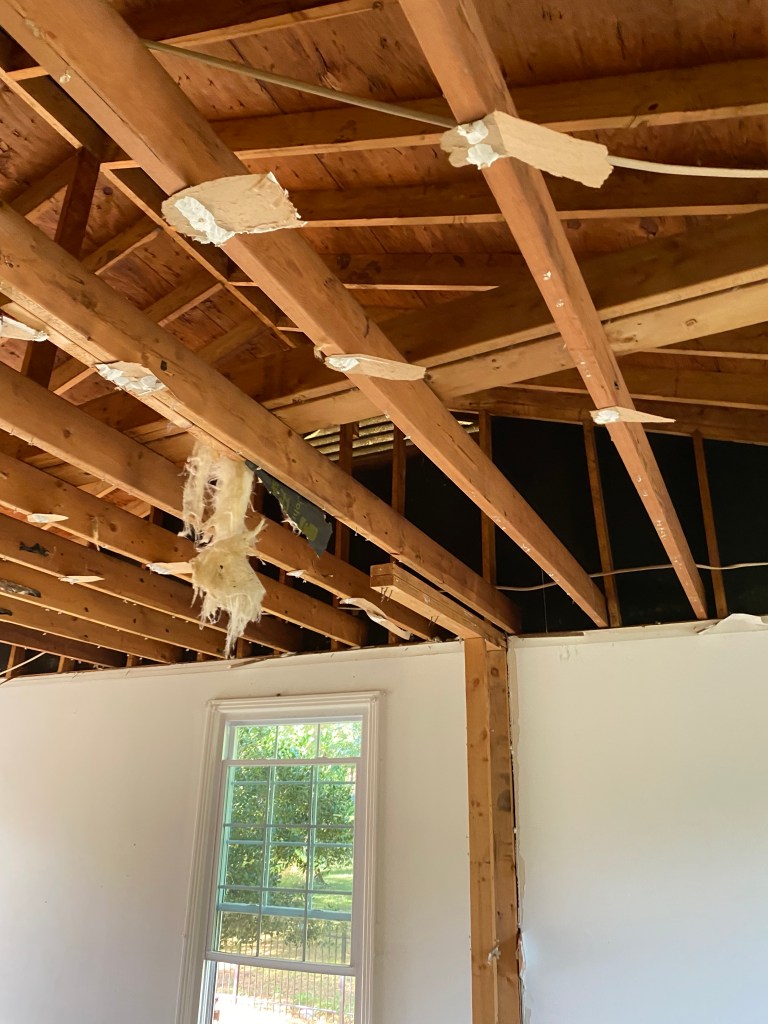
From the first time I saw the house, I knew I wanted to vault the ceilings on either side. The first step to finding out how realistic this would be was to peek into the attic and find out what we were dealing with. There are two basic types of attic configurations and one lends itself to vaulting much easier. If there is a complicated gridwork of criss-cross trusses, you have an expensive problem on your hands to vault. If there are rafters, the expansion is much more straightforward and not nearly as costly. The living room to the left of our house had no attic access. The other living room however, did have a ceiling hole and we were relieved to learn quite a while ago that we had a pretty empty attic with rafters on that side. It would make sense that both attics would be constructed the same way, but if there’s anything we have learned here, it’s that a lot of things in this house don’t make any sense at all. We’ve ran into a few things where Ronny and I have seriously sat there scratching our heads trying to figure out what exactly was going on! So before pulling the trigger on this project, we needed to confirm what we were working with on the left side. We cut a hole in the ceiling to take a peek and again, another pleasant sigh of relief to learn it was the same up there. So now we knew it could be done without breaking the bank -we just needed to find the right builder.
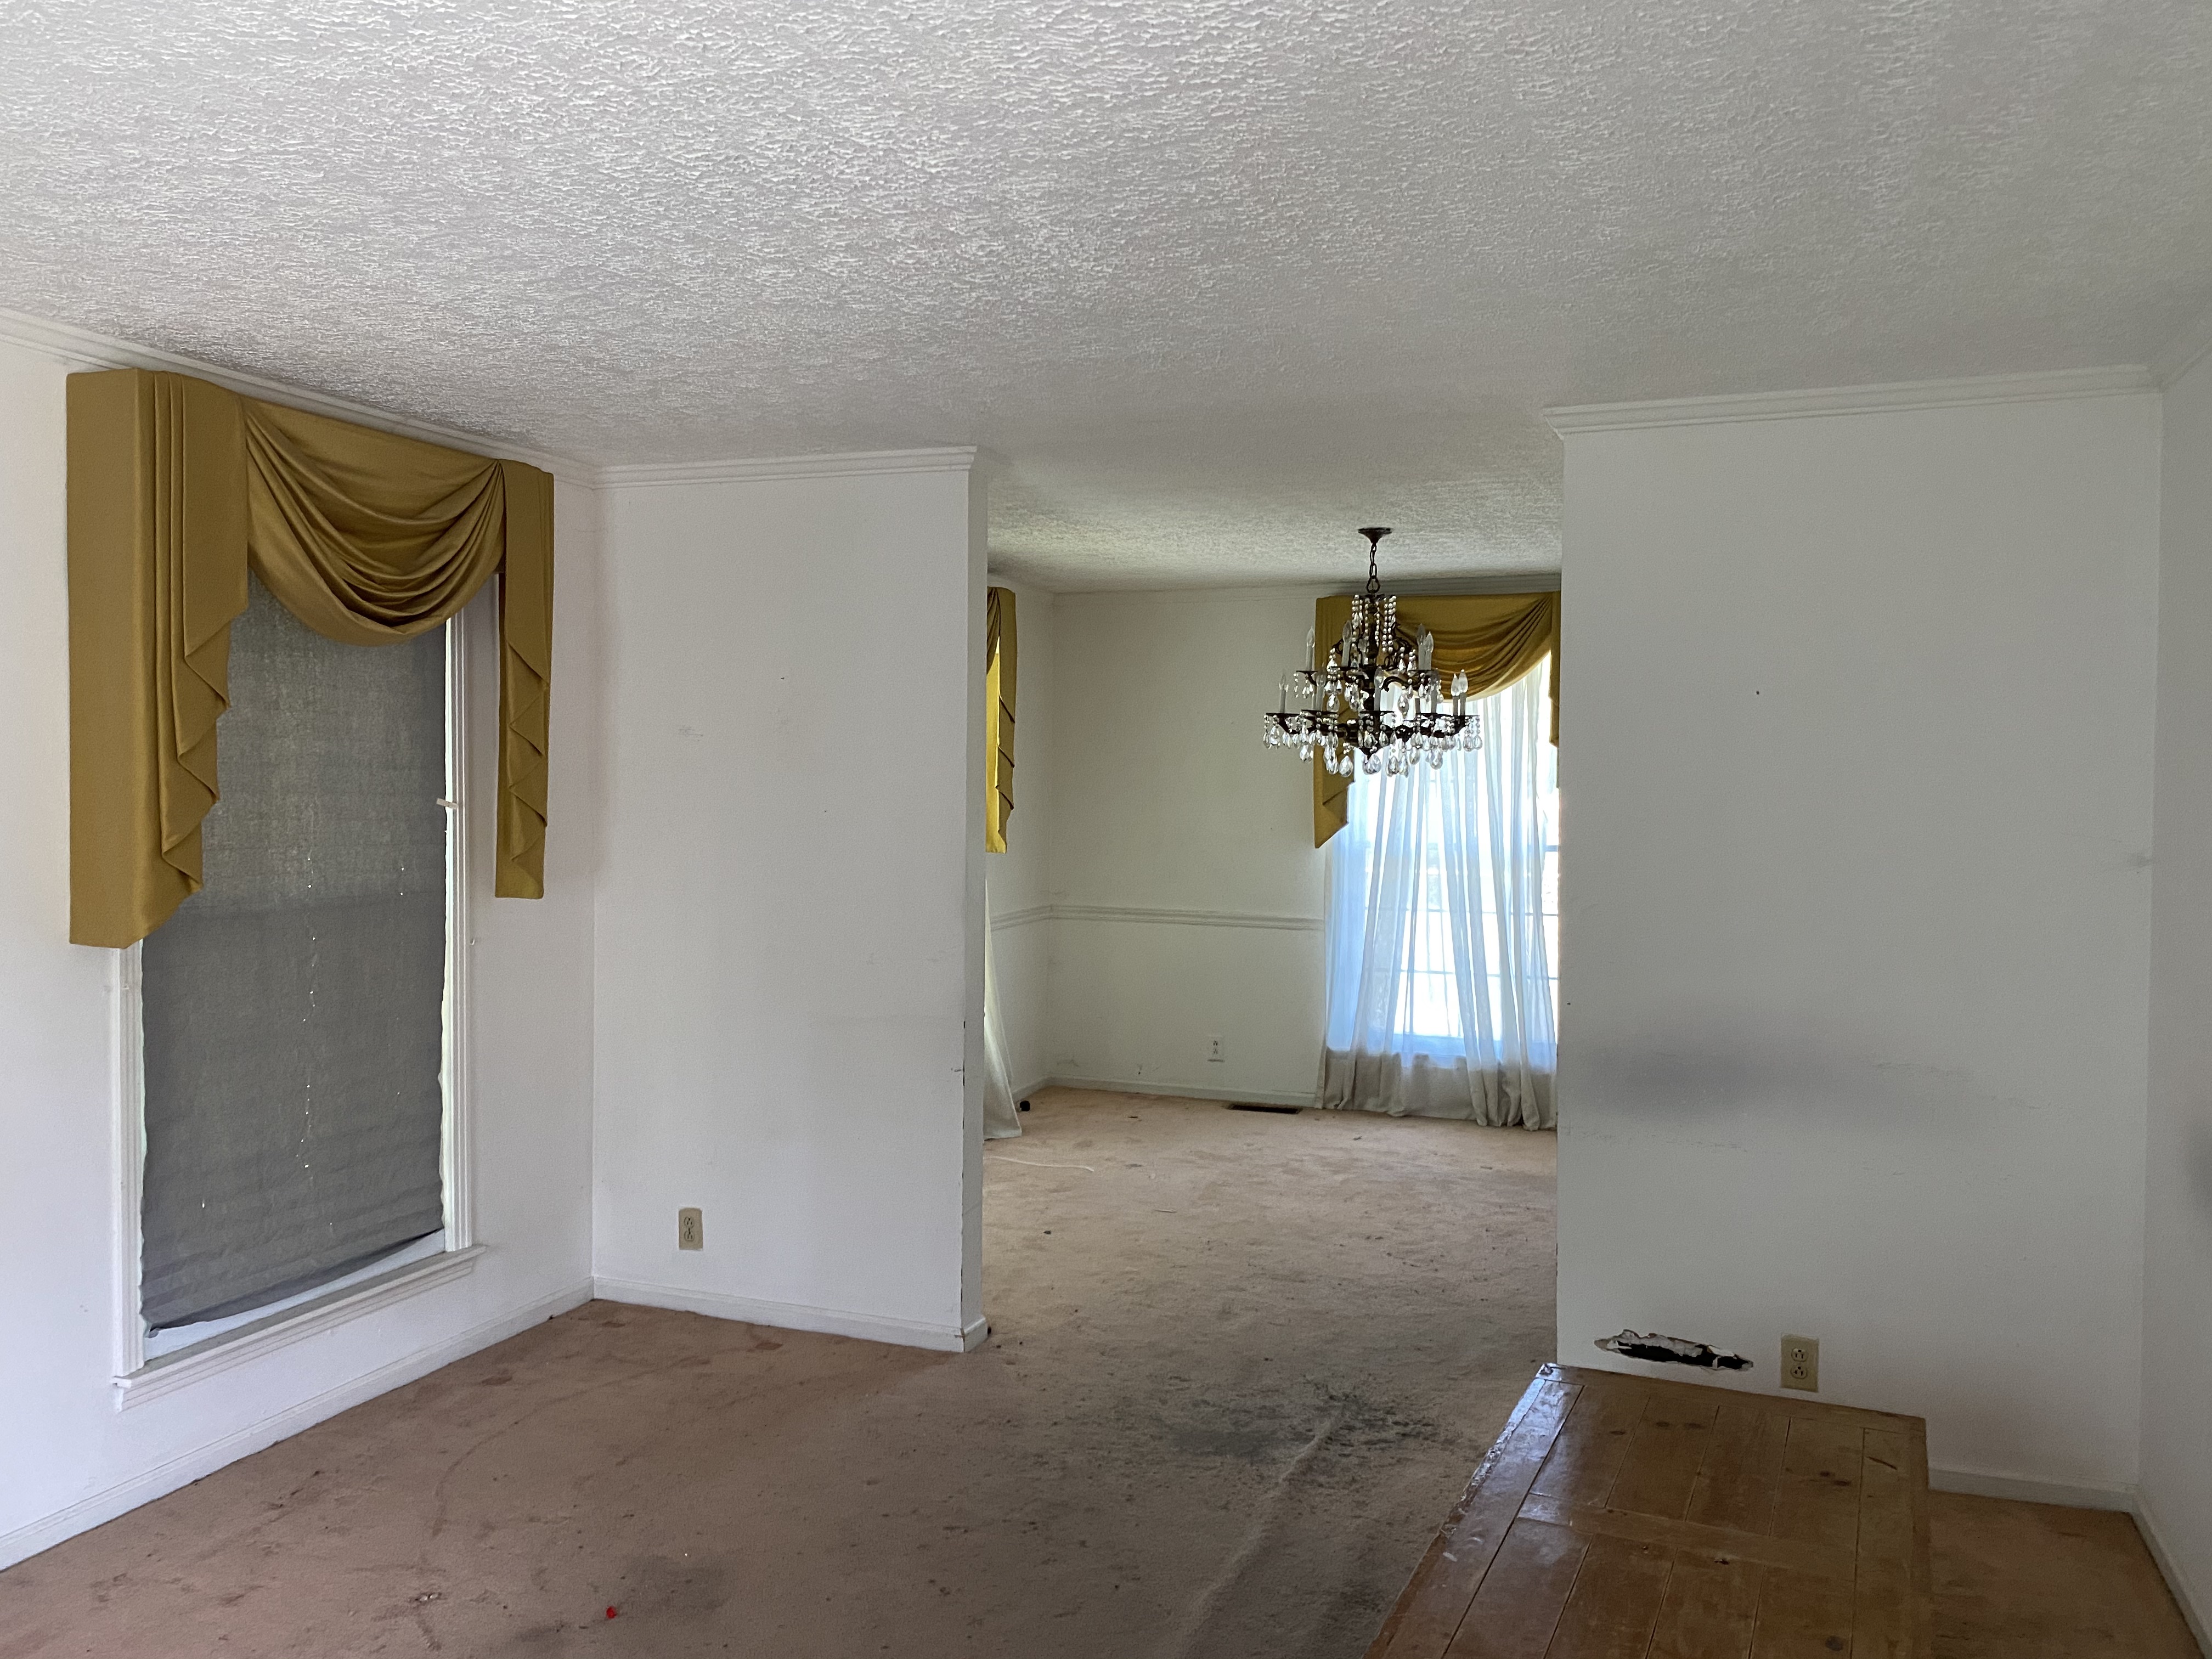
The thing about vaulting ceilings is that while it completely transforms the space, it does not directly increase the value of your home on paper since you aren’t adding any additional usable space/functionality/item of value. We are trying to consider this with the decisions that we are making since we do intend to sell…someday. That being said, vaulting is so transformative that I was confident I still wanted to do it if possible and strongly believed it would be influential in a potential buyer’s impression of the home since it is such a visual game changer. Vaulting this living room was also a big deal for me because it forms the first impression walking into the home. And the entrance was my #1 LEAST favorite thing about the house. I felt like a groundhog waddling in the front door, confronted by tunnels going off in several directions, tons of walls, and very little light altogether. Add to that there was a horribly placed chandelier literally right above your head and ancient green linoleum peeling up everywhere…it was far from love at first sight.


We consulted several builders about this project and got some really mixed options, prices, and opinions on the project as a whole. Some just didn’t really get why I wanted to do it so badly since the roof isn’t super high and vaulting the ceiling would only give me about a 4 foot raise. Another wasn’t sure it would be a great idea structurally and wanted to add way more horizontal beams than I wanted. After finally choosing a builder and consulting a structural engineer, we confirmed that we could add beams for decorative purposes if we chose to, but that the structure of the whole thing was going to be pretty basic and simple. A couple things making the operation even easier were there is no fireplace and chimney in this room and no pipes or plumbing above.
The work of this project was really researching options, pricing, and finding the right builder. Once we did that, we told the girls they could finally have their “demo day” on the dining room partition walls. Yes, we have watched a little Fixer Upper together, and they really wanted to take down a wall. Technically they probably should have had boots and hard hats…but crowns and unicorn slippers sufficed.
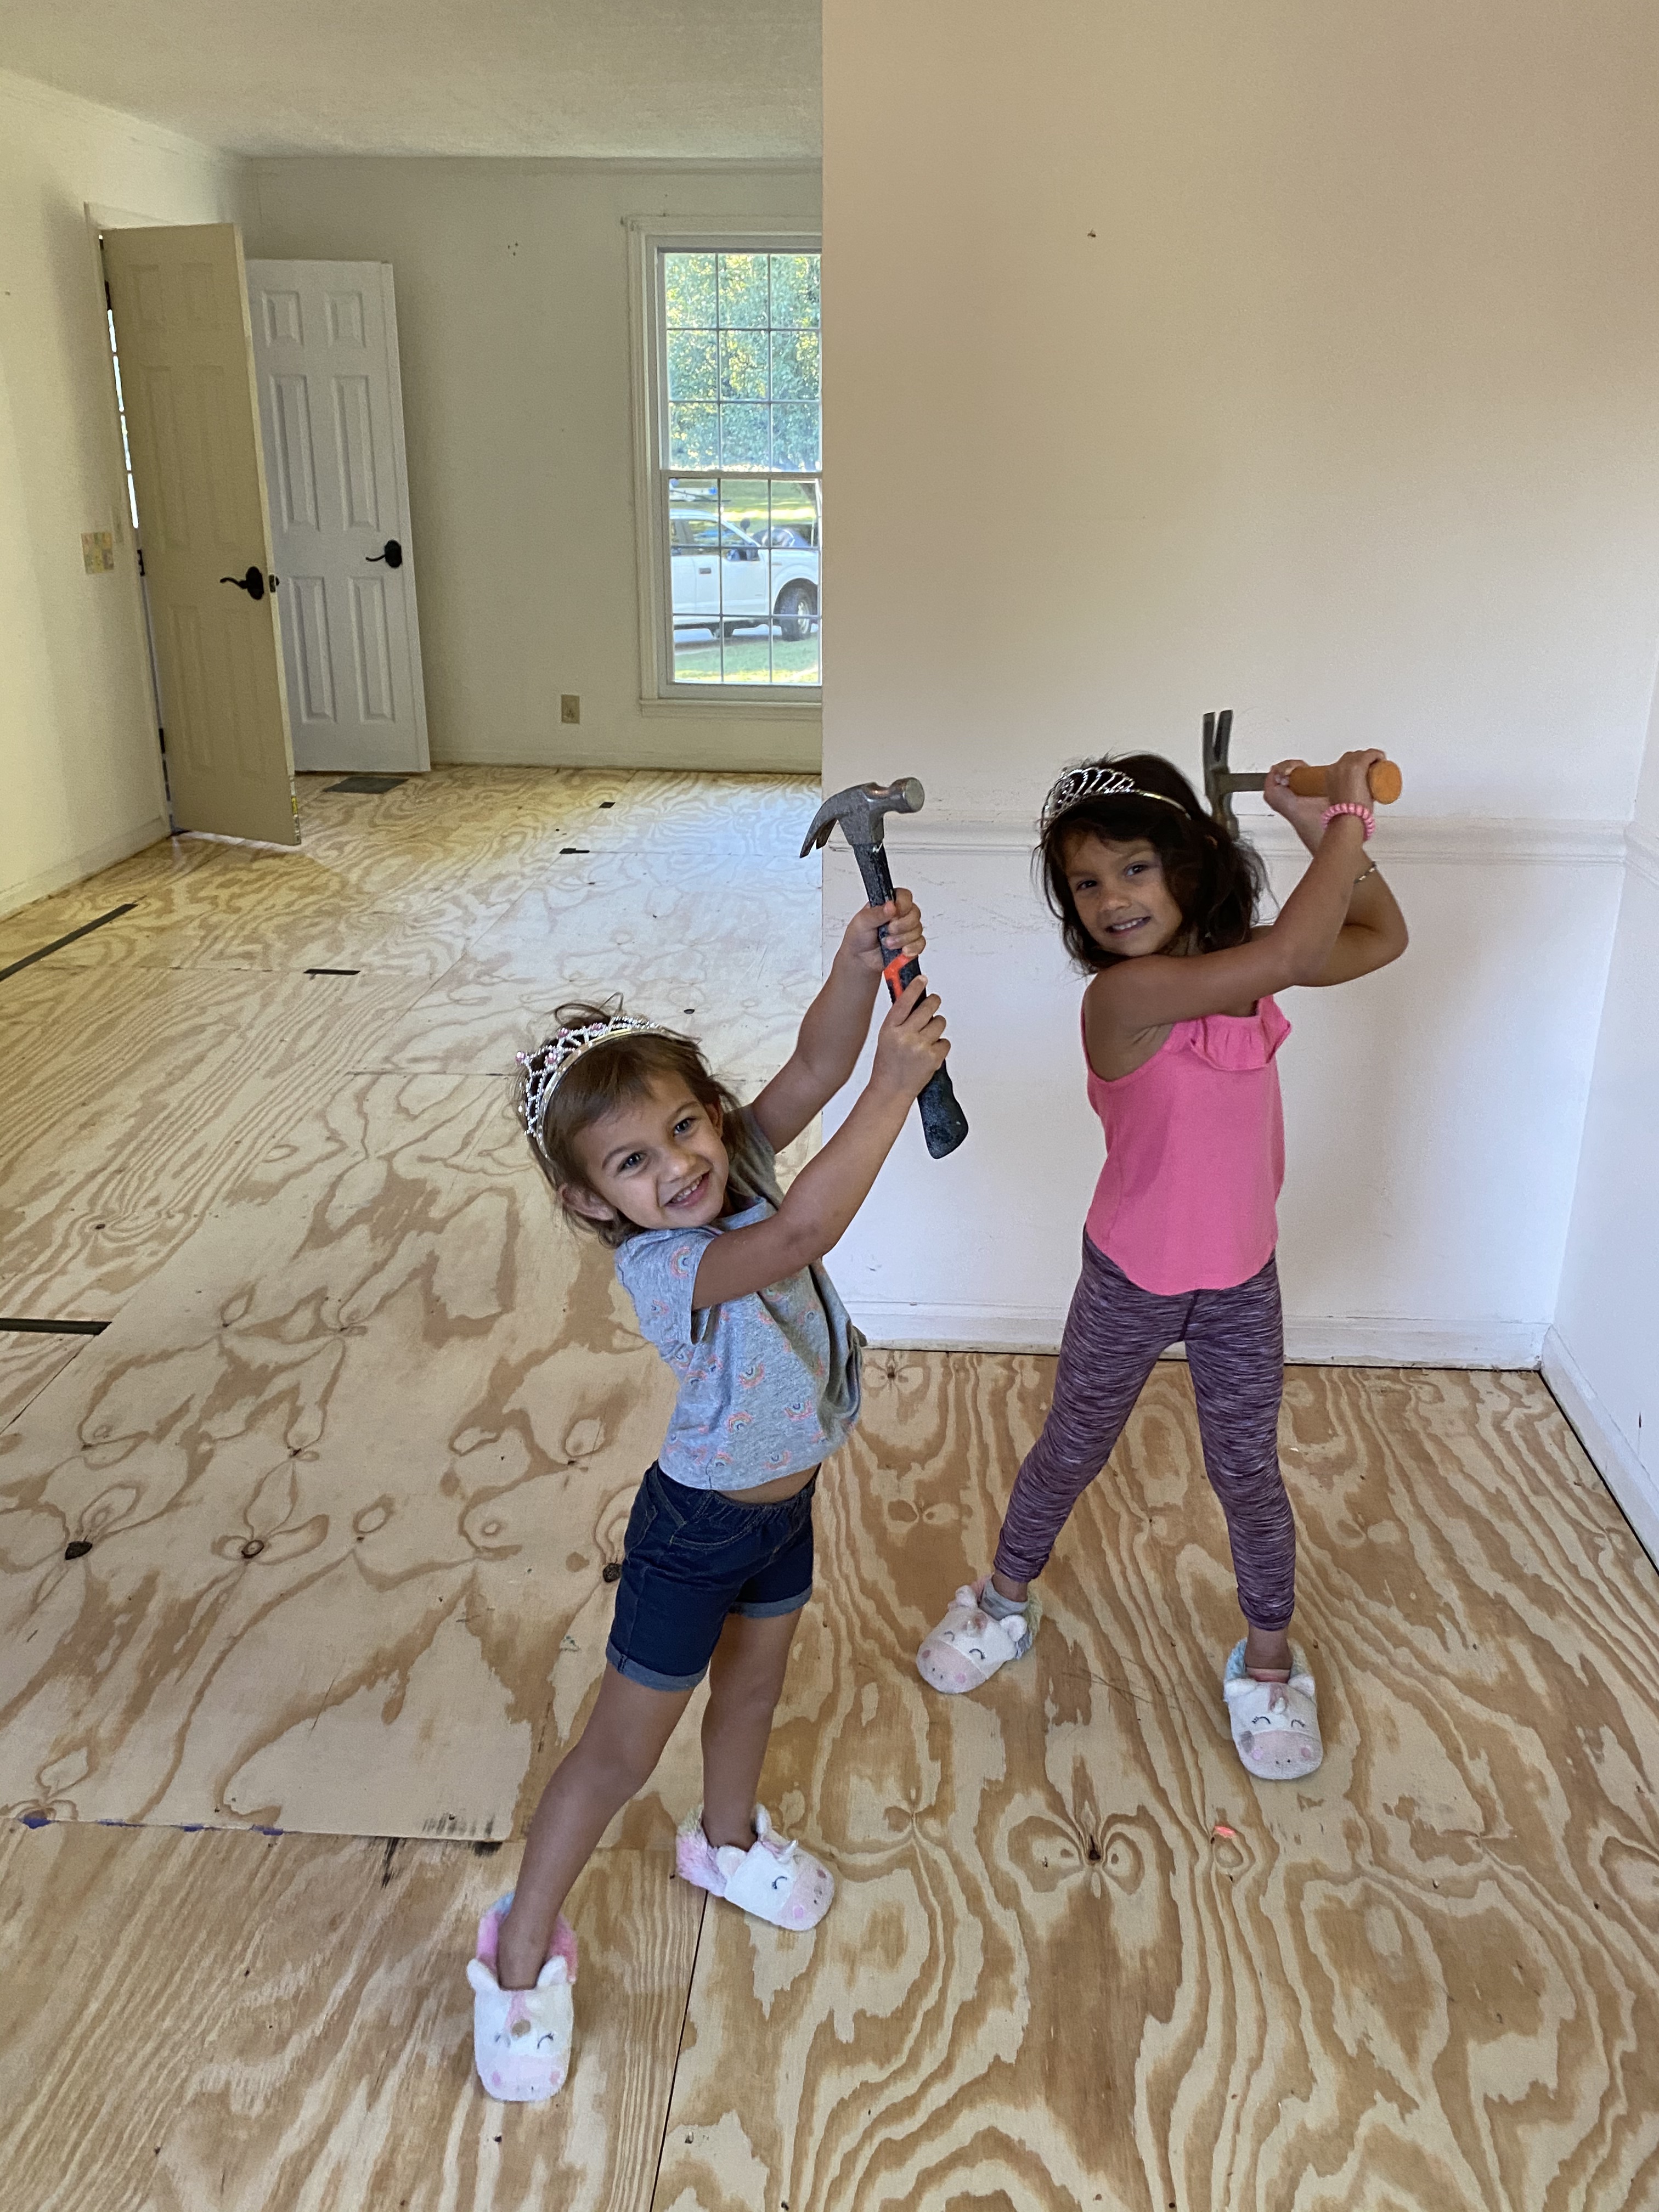

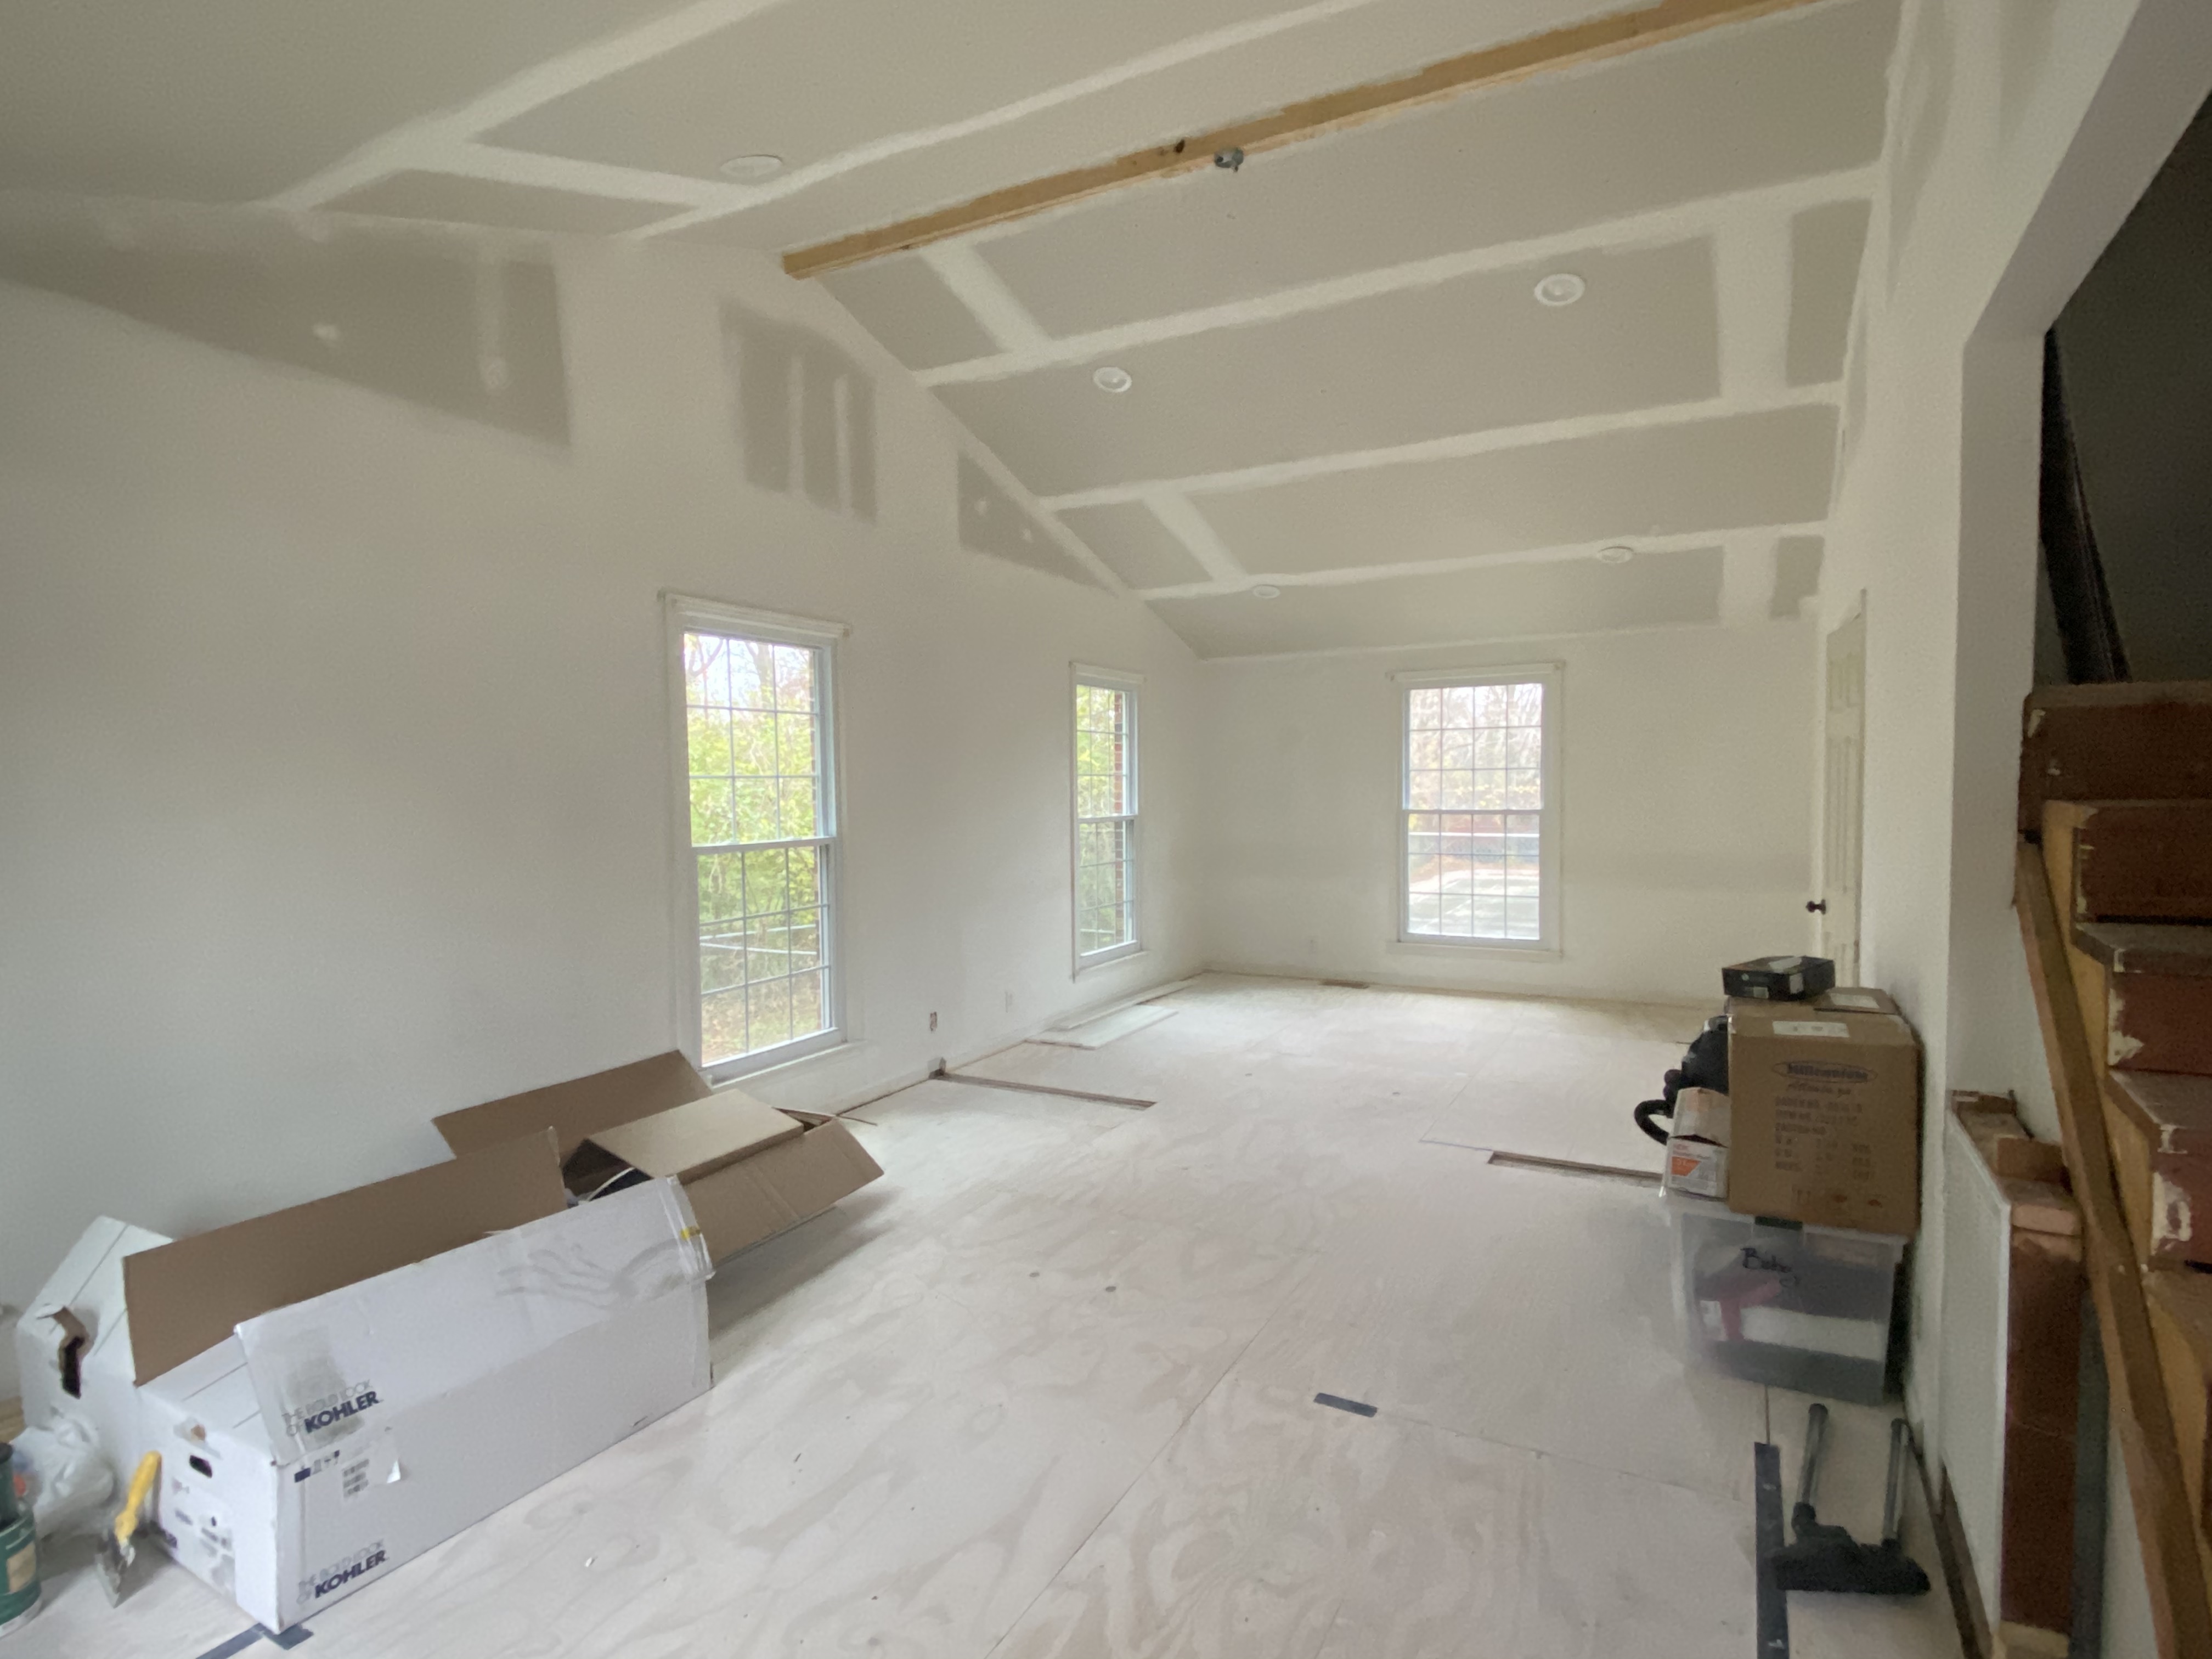
The builders walked in just as the girls were finding their groove and we had to pry the hammers away. Isla was especially enjoying the act of destruction perhaps a little too much. After we cleared out, the space transformed in about 10 hours. The team of three spent a full Sunday in there and the construction of it was done. They took down the dining room partition walls, removed the doors and wall to the left of the stairs, added a header for support, and opened the ceiling up.


The door in back leads to the kitchen, and that wall will open up partially when we redo the kitchen. I’m pretty sure this is our first project where we didn’t run into any substantial surprises or hiccups once the ball got rolling! Not even naps on this day during the commotion were thwarted.

We had drywall work done on this room, had the electrical rewired, and recessed lighting added. I have recently started painting and cleaning up the windows and trim. We are going to add a center light fixture, shiplap the ceilings, and install hardwood soon! The stairs are also getting redone, but for the time being, yes we have banister-less stairs…something I never would have gone for when my firstborn was 18 months, that’s for sure! Not surprising that Saylor is hands down our toughest kid yet.

If you’re thinking of vaulting, I would say IF you can do it, DO IT! This has completely changed the entrance to our house. If you are working with an older home that has drop ceilings, a closed floor plan, and an outdated look, this can completely change the feel. Of course, not every attic situation will lend itself nicely to this, so you will have to weigh your options and price it out. We also considered vaulting the bedrooms upstairs. Because the roof peak runs centrally, each bedroom would vault on the slant (asymmetrically). Personally, I think this can look absolutely fantastic in a bedroom but we ended up not doing this upstairs since the cost seemed to outweigh the benefit for us.
So if you’re toying with it, get a peek up in your attic, find out if the price is worth it for you, and definitely consult with a structural engineer before moving forward! Now if I can just talk Ronny into getting a 12 foot Christmas tree this year…


So great to see the before and after and in between pictures! So much progress!
LikeLike
I vote yes on the 12 foot tree.
LikeLiked by 1 person