

No, that’s not Davy Crockett, it’s Ronny tackling his honey-do list, item #3752: fill the nail holes in all the ceilings so I can paint them. We now have shiplap on the ceilings in about 1/4 of the house – all the bathrooms, front living room, and both hallways. It has cleaned things up so much and given a whole new feel while bringing in a bit of that modern farmhouse vibe that I do love. While it is taking time to fill the nail holes and paint, drywall is a ton of work too as taping and finishing is a pretty laborious ordeal. Prior to moving to Tennessee, Ronny and I owned and managed a CrossFit gym. When we built the warehouse space out, we pretty much did everything “ourselves”, meaning not paying for professionals. Thankfully we had a lot of help from friends, but we paid out of pocket very little. We wanted to keep the buildout debt free, we didn’t want to be beholden to investors, and we tried to throw any extra money at equipment rather than renovations. In addition to keeping costs low, I now see how the entire experience really helped us learn what we suck at and should hire out moving forward. Shortly into the taping and finishing adventure at our gym, we both realized we were terrible at it and we loathed it. Thankfully, we had a client whose day job was an NP but strangely loved taping and finishing. She came to our rescue and helped us finish the rest. Now, Ronny and I know right away that any taping and finishing goes to a professional and if there’s a way to avoid it completely, we want to go that route instead. Our answer is: shiplap!! AKA planked ceilings. Hector is installing, we are nail filling and painting. At first we were using normal wood filler, but it has to be sanded and is a bit harder to conceal. Ronny switched to using painter’s putty and this stuff is awesome.
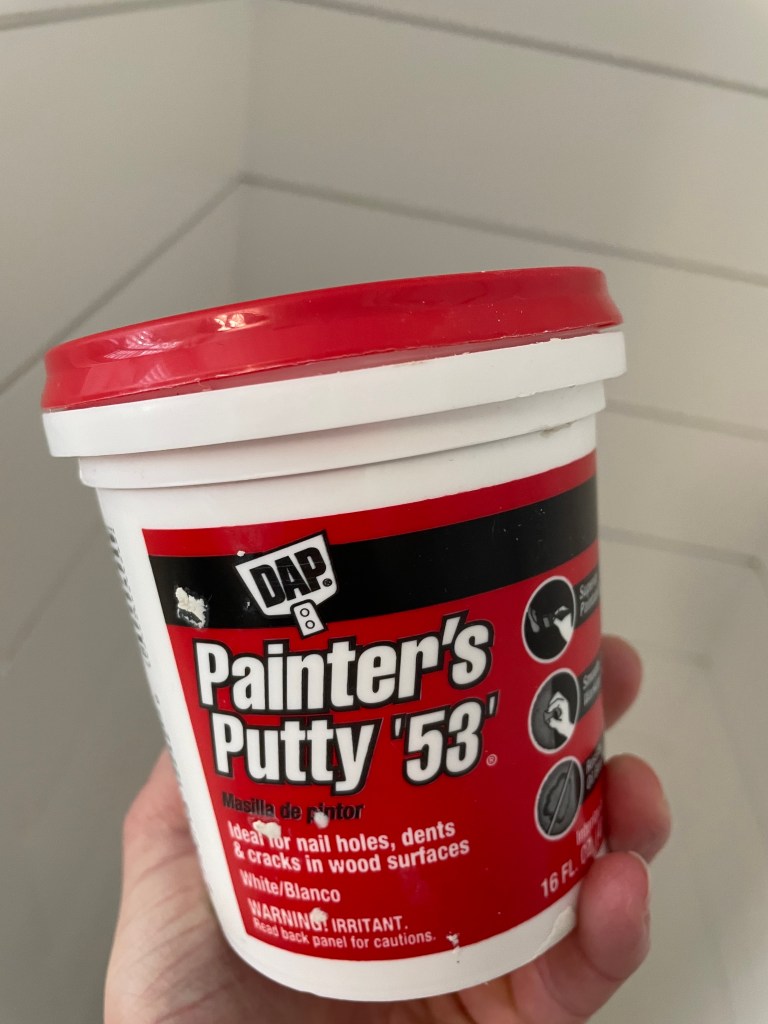
He just applies it with a finger and no sanding is even required. Once painted over, you cannot tell a nail hole was even there. Painting ceilings is my least favorite type of painting; your neck starts to hurt, stuff gets in your eyes, and it is messy. It really is a lot easier to take this on before floors are in but if the order of things don’t work out that way for you (it’s definitely not for us in most rooms so far) just lay plastic down well and cross your fingers all goes smoothly.

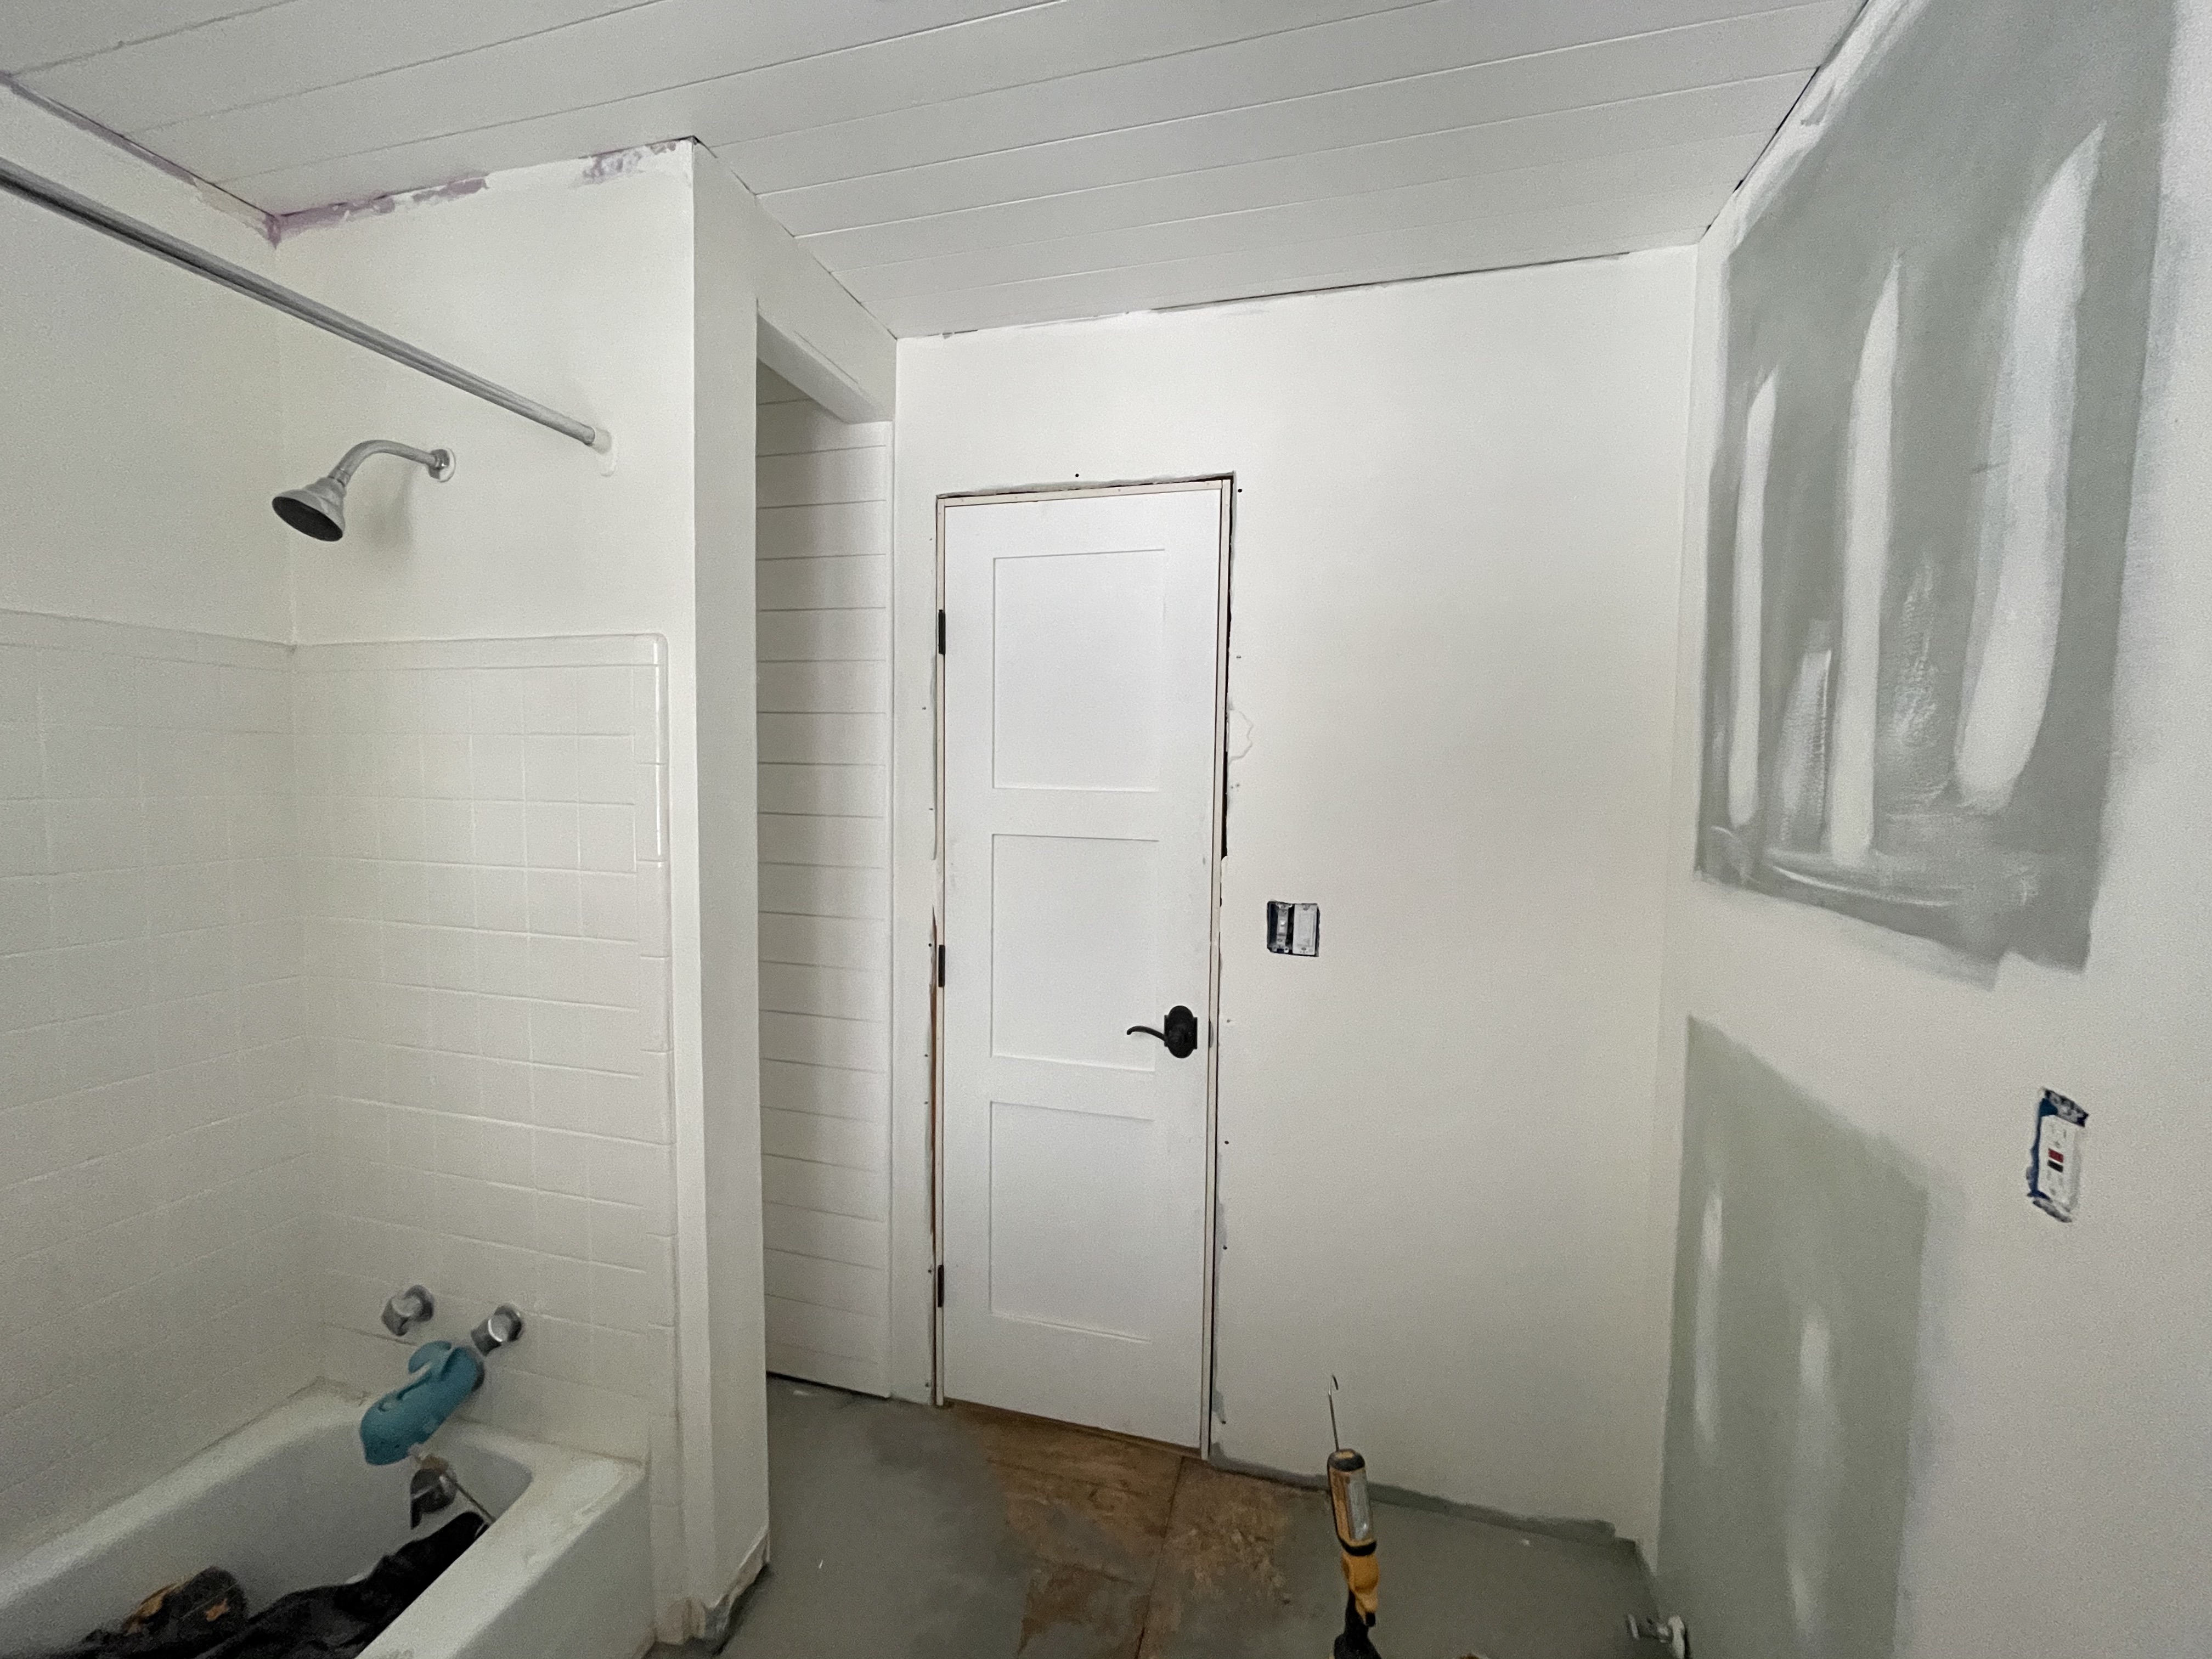
We just finished our first ceiling in the downstairs bath, which took me about 2 hours to finish painting after Ronny finished filling nail holes. This is the room that we weren’t going to remodel til 2022 (haha). And then we had a plumbing/pipe emergency behind the vanity and after we blinked our eyes, the bathroom had been destroyed. We ripped out the vanity, took down a half wall, and opened up the small closet just a touch, lining it with shiplap as well. The shower and tub are getting left alone for now.

We are using the same mid-size hexagon that we used in the girl’s bath. We love it and get compliments on it all the time and so decided that rather than overthink things, we would just roll with it again (added bonus: it was not an expensive tile choice and we had a little left over from before!)

This bathroom had laminate laid over some “newer” subfloor, which was on top of some ancient subfloor. We weren’t exactly sure how much was going to come out before having the floor leveled for tile. When the tile guys arrived, they decided to go one layer of subfloor down. When that was torn up, we saw just how bad that bottom layer was. I wouldn’t call it rotted…but it was moist and in bad shape. Ronny and I were so mad at ourselves as we should have known better by this point. None of the subfloor has been in good condition in this place, especially not in the bathrooms, so we really should have seen this coming. We had to stall a few days til they could come back to replace subfloor and pour the leveling cement. When that was golden, we were set for tile to go in the following week. And then the 2021 arctic blast came rolling in and things came to a standstill.

This is the first truly cold spell we have experienced in TN yet. While our house is toasty warm (yay! we have replaced the AC, installed a new unit for upstairs and replaced all of the ducting -this house heats up fast now!) this was more of an ice storm than a snow storm. Roads were borderline impassible and everything was closed for a bit.

So tile was postponed for another week since no one was driving anywhere. Bright side: I now had time to paint the bathroom walls and ceiling before the tile went in! Whenever I paint on old floors (or should I say no floors in this case) I am reminded of how wonderful it is to have zero stress of paint splatter on new floors. Seriously…if you have the opportunity to paint everything before those new floors go in, by all means do it.

There are a lot of ways you can go with planked ceilings and in my opinion, the look lends itself well to many different decor styles. It’s really in right now to paint ceilings darker colors, even black – and it looks awesome! Because our ceilings are quite low in this house (except for the one living room we have raised) and because I tend to gravitate towards safer more classic choices, we are going with a bright white: Behr Polar Bear. In the bathrooms I went with satin sheen so that it holds up better with moisture over the years. In the rest of the house we are using flat so it doesn’t look shiny with lights. Full bathroom before and afters coming soon!
